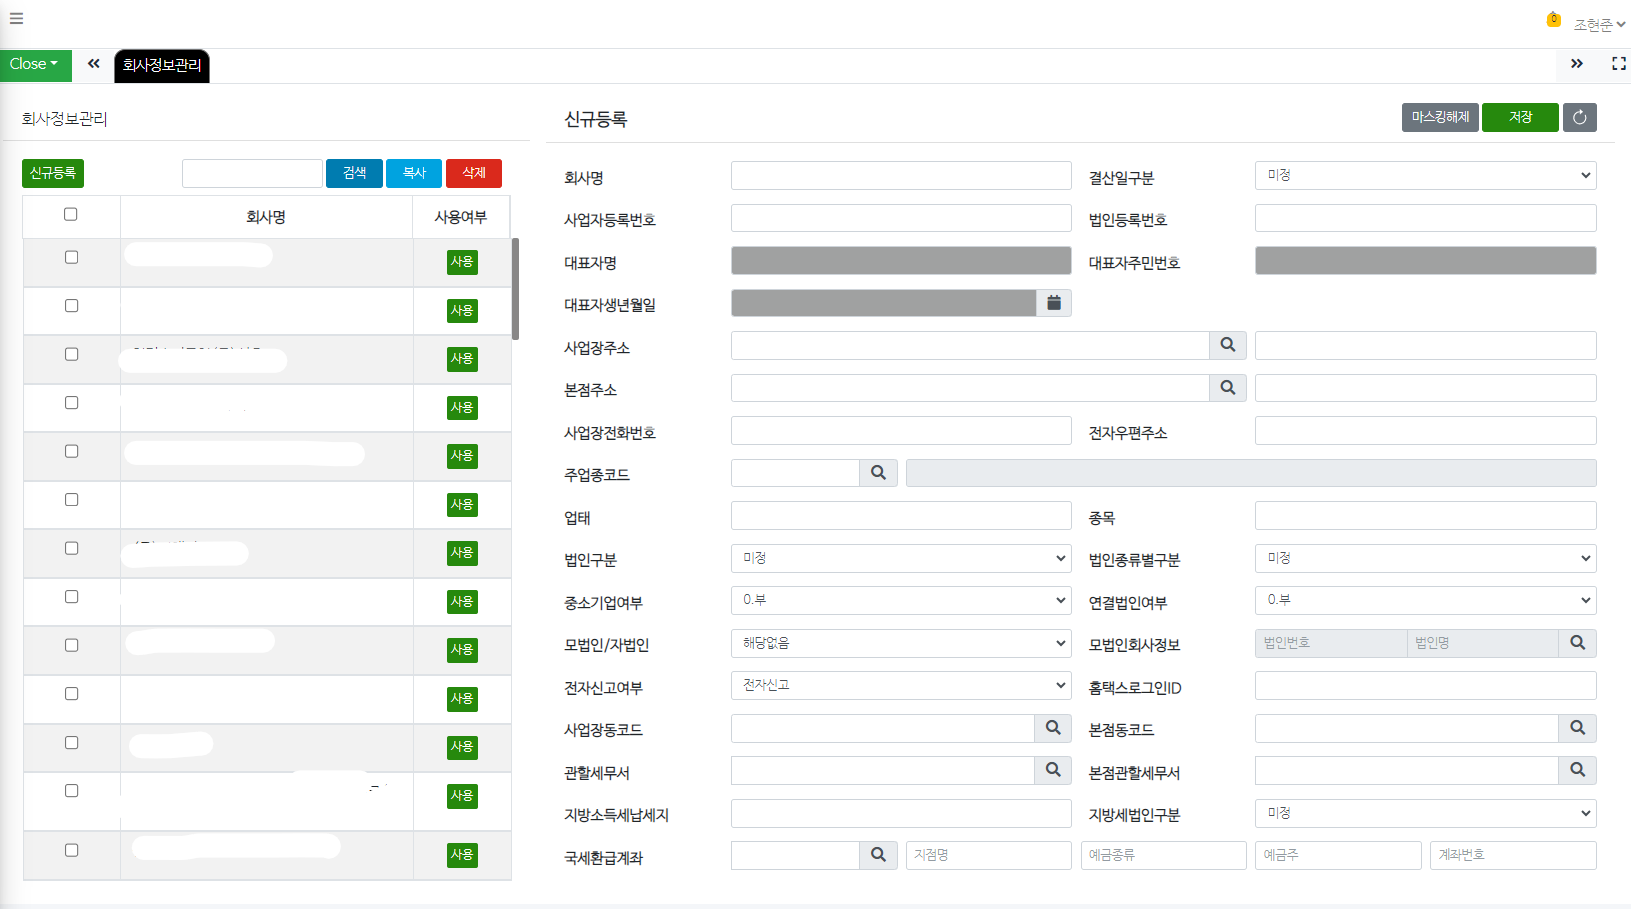
Form
- 부트스트랩 form Control 들은 모양이 예쁘고, 반응형으로 만들어줍니다.
부트스트랩에서는 Form 을 테이블로 구성하지 않지만, 우리에게 익숙한 테이블을 이용해 보겠습니다.
<table class="table table-bordered">
    <tr>
        <td class="col-1 bg-danger text-white">
            Full Name
        </td>
        <td class="col-2">

        </td>
    </tr>
    <tr>
        <td>
            Mobile No.
        </td>
        <td>

        </td>
    </tr>
    <tr>
        <td>
            Birthday
        </td>
        <td>

        </td>
    </tr>
    <tr>
        <td>
            Note
        </td>
        <td>

        </td>
    </tr>
    <tr>
        <td>
            Category
        </td>
        <td>

        </td>
    </tr>

</table>
Form Control
1) Input
<input type="text" class="form-control" id="" name="" placeholder="">


<!-- size -->
<input type="text" class="form-control form-control-sm">
<input type="text" class="form-control form-control-md">
<input type="text" class="form-control form-control-lg">
2) TextArea
<textarea class="form-control" id="" name=""></textarea>
2) Select
<select class="form-select" aria-label="Default select example">
  <option selected>Open this select menu</option>
  <option value="1">One</option>
  <option value="2">Two</option>
  <option value="3">Three</option>
</select>
마찬가지로 form-select-sm 등을 추가하여 사이즈를 변경할 수 있습니다.
3) CheckBox
<div class="form-check">
  <input class="form-check-input" type="checkbox" value="" id="flexCheckDefault">
  <label class="form-check-label" for="flexCheckDefault">
    Default checkbox
  </label>
</div>
4) Radio
<div class="form-check">
  <input class="form-check-input" type="radio" name="flexRadioDefault" id="flexRadioDefault1">
  <label class="form-check-label" for="flexRadioDefault1">
    Default radio
  </label>
</div>
5) Inline Checkbox or Radio
<div class="form-check form-check-inline">
  <input class="form-check-input" type="checkbox" id="inlineCheckbox1" value="option1">
  <label class="form-check-label" for="inlineCheckbox1">1</label>
</div>
<div class="form-check form-check-inline">
  <input class="form-check-input" type="checkbox" id="inlineCheckbox2" value="option2">
  <label class="form-check-label" for="inlineCheckbox2">2</label>
</div>
<div class="form-check form-check-inline">
  <input class="form-check-input" type="checkbox" id="inlineCheckbox3" value="option3" disabled>
  <label class="form-check-label" for="inlineCheckbox3">3 (disabled)</label>
</div>
Grid LayOut
아래 예시와 같은 복잡한 레이아웃은 Grid 를 이용하여 작성하였습니다.

<form class="row g-3">
  <div class="col-md-6">
    <label for="inputEmail4" class="form-label">Email</label>
    <input type="email" class="form-control" id="inputEmail4">
  </div>
  <div class="col-md-6">
    <label for="inputPassword4" class="form-label">Password</label>
    <input type="password" class="form-control" id="inputPassword4">
  </div>
  <div class="col-12">
    <label for="inputAddress" class="form-label">Address</label>
    <input type="text" class="form-control" id="inputAddress" placeholder="1234 Main St">
  </div>
  <div class="col-12">
    <label for="inputAddress2" class="form-label">Address 2</label>
    <input type="text" class="form-control" id="inputAddress2" placeholder="Apartment, studio, or floor">
  </div>
  <div class="col-md-6">
    <label for="inputCity" class="form-label">City</label>
    <input type="text" class="form-control" id="inputCity">
  </div>
  <div class="col-md-4">
    <label for="inputState" class="form-label">State</label>
    <select id="inputState" class="form-select">
      <option selected>Choose...</option>
      <option>...</option>
    </select>
  </div>
  <div class="col-md-2">
    <label for="inputZip" class="form-label">Zip</label>
    <input type="text" class="form-control" id="inputZip">
  </div>
  <div class="col-12">
    <div class="form-check">
      <input class="form-check-input" type="checkbox" id="gridCheck">
      <label class="form-check-label" for="gridCheck">
        Check me out
      </label>
    </div>
  </div>
  <div class="col-12">
    <button type="submit" class="btn btn-primary">Sign in</button>
  </div>
</form>

Card
<div class="card" style="width: 18rem;">
    <div class="card-body">
      <h5 class="card-title">Special title treatment</h5>
      <p class="card-text">With supporting text below as a natural lead-in to additional content.</p>
      <a href="#" class="btn btn-primary">Go somewhere</a>
    </div>
</div>
<!doctype html>
<html lang="en">
  <head>
    <meta charset="utf-8">
    <meta name="viewport" content="width=device-width, initial-scale=1">
    <title>Bootstrap demo</title>
    <link href="https://cdn.jsdelivr.net/npm/bootstrap@5.3.3/dist/css/bootstrap.min.css" rel="stylesheet" integrity="sha384-QWTKZyjpPEjISv5WaRU9OFeRpok6YctnYmDr5pNlyT2bRjXh0JMhjY6hW+ALEwIH" crossorigin="anonymous">
  </head>
  <body>

	<div class="container-fluid pt-5">

		<div class="">
			<div class="card">
				<div class="card-body">
					<div class="text-center"><h3 class="text-danger">Customer Add</h3></div>
					<div>
						<table class="table table-bordered">
							<tr>
								<td class="bg-danger text-white">Full Name</td>
								<td><input type="text" name="name" class="form-control form-control-sm"></td>
							</tr>
							<tr>
								<td class="bg-danger text-white">Mobile No.</td>
								<td><input type="text" name="name" class="form-control form-control-sm"></td>
							</tr>
							<tr>
								<td class="bg-danger text-white">Birthday</td>
								<td><input type="date" name="name" class="form-control form-control-sm"></td>
							</tr>

							<tr>
								<td class="bg-danger text-white">Note</td>
								<td><textarea class="form-control"></textarea></td>
							</tr>
							<tr>
								<td class="bg-danger text-white">Category</td>
								<td>
									<div class="form-check form-check-inline">
										<input type="checkbox" class="form-check-input">
										<label>I</label>
									</div>
									<div class="form-check form-check-inline">
										<input type="checkbox" class="form-check-input">
										<label>F</label>
									</div>
								</td>
							</tr>

						</table>
					</div>
					<div class="float-end">
						<button type="button" class="btn btn-sm btn-success">Save</button>
						<button type="button" class="btn btn-sm btn-secondary">Cancel</button>
					</div>
				</div>
			</div>
		</div>


	</div>

    <script src="https://cdn.jsdelivr.net/npm/bootstrap@5.3.3/dist/js/bootstrap.bundle.min.js" integrity="sha384-YvpcrYf0tY3lHB60NNkmXc5s9fDVZLESaAA55NDzOxhy9GkcIdslK1eN7N6jIeHz" crossorigin="anonymous"></script>
  </body>
</html>'Hokma Developer School :: Course 1' 카테고리의 다른 글
| [Bootstrap 기초] 5. Navbar , Icon (0) | 2024.10.28 |
|---|---|
| [Bootstrap 기초] 4. Modal / Offcanvas (0) | 2024.10.22 |
| [Bootstrap 기초] 2. Text, Color, Padding, Align (0) | 2024.10.20 |
| [Bootstrap 기초] 1. Bootstrap 과 Grid (0) | 2024.10.15 |
| [Git 기초 사용법] 6. Git Page ( Hosting ) / Tip (1) | 2024.10.11 |
